Now, you want to download this example object file I have made.
In it you will find a head, body, and hands. you will notice that for each .obj file, there is also a .mtl file. (this is very important later on, but don't worry about it too much now.)
You will also find a .bmp for each object. This is the actual skin. Now generally, for the sims the skin has to be 256 colors. However, for viewpoint, the skin has to be full color. Go figure. but anyway, remember, when you are doing your own skin, make sure you use your paint program to save it as a full color .bmp for viewpoint.
Now, we are going to open up the Viewpoint Scene builder. But before we do that, this is a small but important step, you must resize your desktop to a minimum of 1024x764. (don't worry, you can put it back when you are done) But viewpoint is a "professional" program, and it does not work at smaller resolutions.
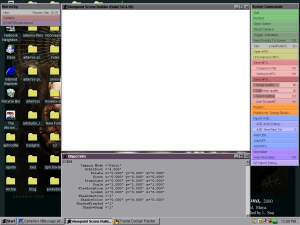
Now, when you open it up, you will see a large white square, as well as many controls that you don't have to worry about. Don't panic, you just have to use a few.
First thing to do is to slide
image
quality, lightmap quality, and geometry setting all the way to the
right (this gives you the prettiest result)

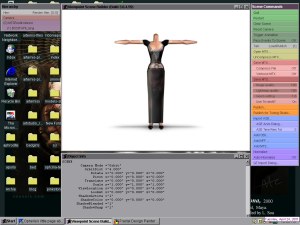
Now, click onto "add obj" to ...you guessed it... add an object. Browse to the sample body in my file (which is named B333FAFit_long.obj)

Now, click onto "add
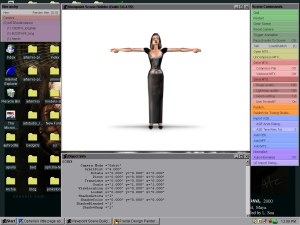
obj" again to add the head & hands to the scene...

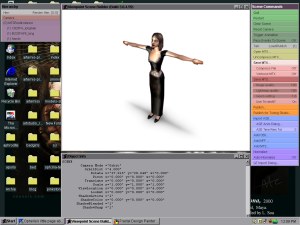
Now you can pan & rotate
the scene to your liking...

When you are done, hit the orange "publish..." button to save your file.
Now.. the next step is to get your viewpoint object into a web page...
